How to Apply for PM Surya Ghar Muft Bijli Yojana: Step-by-Step Solar Registration Guide
Thinking about installing a rooftop solar system under the PM Surya Ghar Muft Bijli Yojana (PMSGY)? This guide walks you through the complete registration process on the national portal – from document preparation to subsidy credit. Let’s India’s clean energy revolution.
Step 1: Documents Required for Solar Registration
Prepare these documents before starting your online solar application:
- Latest electricity bill (in applicant’s name)
- Property or roof ownership proof
- Government-approved ID (Aadhaar, PAN)
- Bank passbook or cancelled cheque
- Digital passport-size photo
Step 2: Visit the Official National Portal
Go to the PM Surya Ghar Portal – the trusted platform for rooftop solar applications in India. Click “Apply Now” to create your account and begin the process.
Step 3: Enter Applicant & DISCOM Details
- Select your state, district, and electricity board (DISCOM)
- Enter your consumer number (from your electricity bill) to fetch details automatically
- Provide contact information and verify via OTP
Step 4: Upload Essential Documents
Upload your identity proof, home ownership documents, latest bill, and bank details. This ensures proper verification by DISCOM officials and secures your subsidy eligibility.
Step 5: Choose a Solar Vendor (Empanelled List)
After application submission or DISCOM approval, select an empanelled solar vendor. Compare reliability, service record, and regional presence – Ecozen offers expert support throughout each stage of your solar journey.
Step 6: Technical Feasibility by DISCOM
Your rooftop is surveyed for suitability, sanctioned load, and meter compatibility. Once approved, you’ll receive confirmation via SMS or email.
Step 7: Book and Survey with Your Vendor
After DISCOM approval, schedule a site survey with your chosen vendor. Confirm technical specifications, safety standards, and net metering setup before installation.
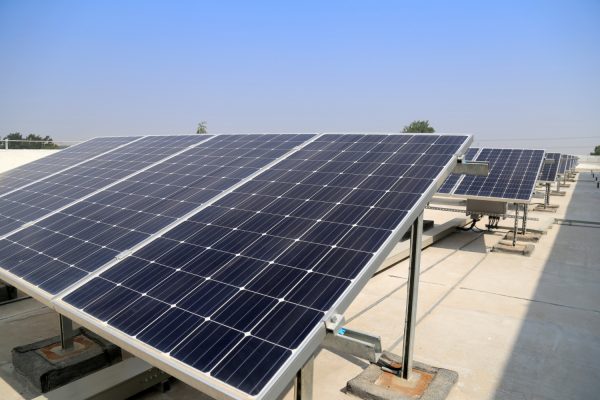
Step 8: Solar Installation, Net Metering & Submission
Once installation is complete, upload the completion report and photos to the portal. Apply for a net meter to enable grid connection and energy export benefits.
Step 9: DISCOM Inspection and Subsidy Credit
DISCOM officials will inspect and commission your rooftop solar system. The subsidy amount will be directly credited to your registered bank account within 30 days – keep an eye on portal updates for status tracking.
